Form, Function, Texture
MY PRACTICE
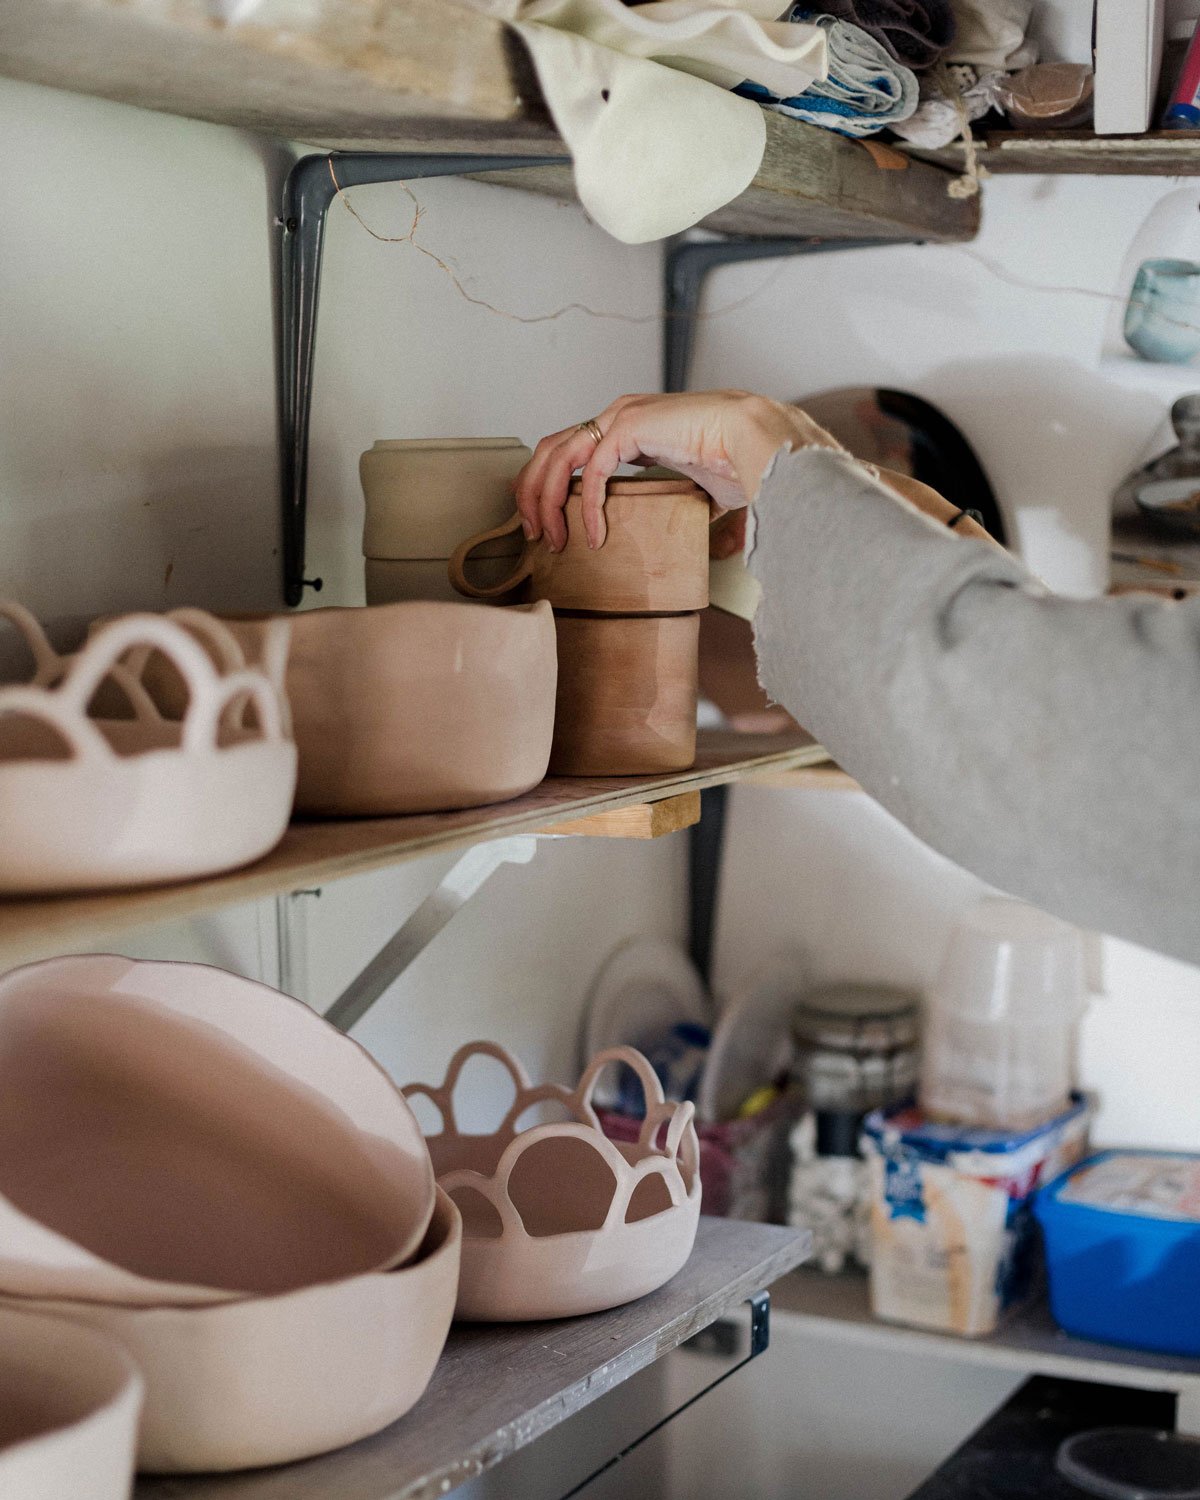
As a maker, my practice involves crafting simple, functional pieces that enhance an experience of the everyday. Whether that’s sitting at your favourite coffee shop, lazing around at home, or enjoying a moment overlooking an awe-inspiring view.
Newcastle’s eco-conscious ceramic studio & workshop space within MOA & co.
MY ECO PRACTICES
Solar powered
〰️
Reclaim clay
〰️
Buy in bulk
〰️
Make my own glazes
〰️
Carbon offset
〰️
Recyclable Packaging
〰️
Water tank water
〰️
Solar powered 〰️ Reclaim clay 〰️ Buy in bulk 〰️ Make my own glazes 〰️ Carbon offset 〰️ Recyclable Packaging 〰️ Water tank water 〰️
HOW I WORK
my Process
STEP one
the Design
WHAT IS IT
I like to sketch out on paper what I’m hoping to create unless its a flat object like a plate or a bowl.
STEP two
the Roll
WHAT IS IT
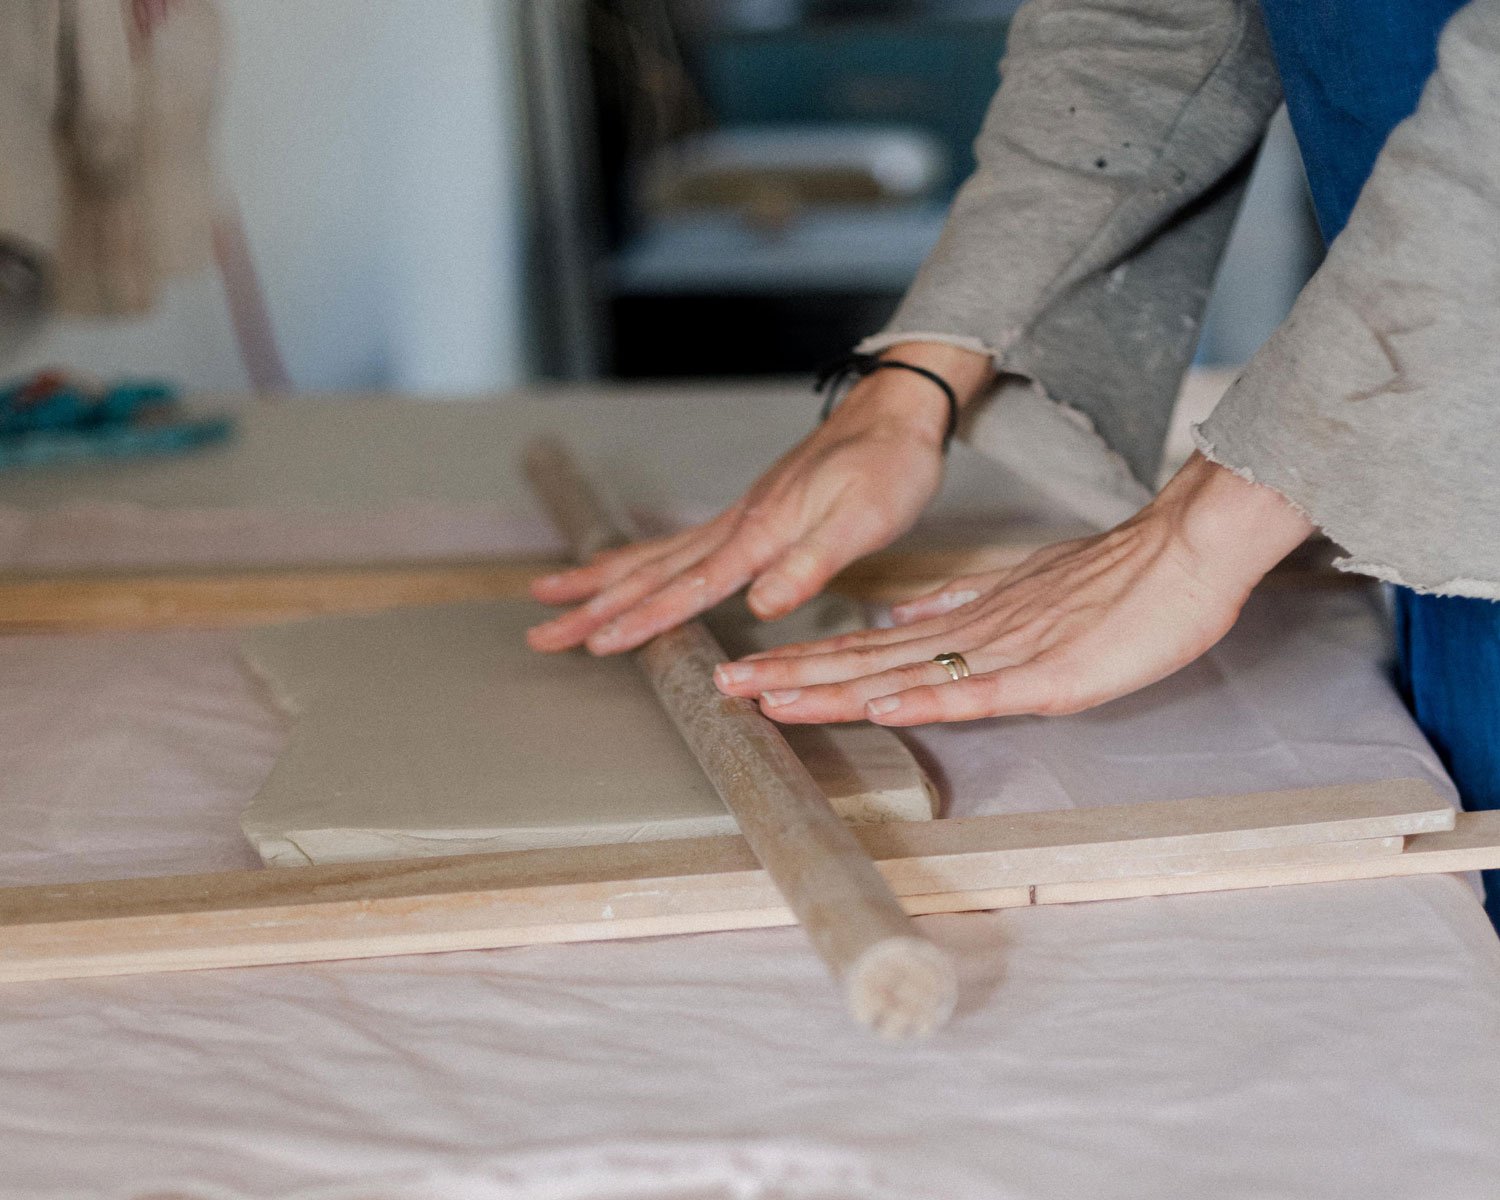
I either cut directly from the slab of clay or knead up some offcuts. As I work primarily with hand building, I roll out my clay with my mini venco slab roller (new addition of 2023) or with a rolling pin and wooden sticks that help keep the thickness of my slab even.
STEP three
the Cut
WHAT IS IT
Once my slab has been rolled out to the right thickness, I compress both sides using a stiff wooden rib. I then cut out as many pieces as I can fit on the rolled out slab. For repeat pieces I use a cardboard template to ensure I keep things as consistent as possible.
STEP four
the Repeat
WHAT IS IT
Once I moved those cut out pieces to a flat surface I repeat steps two and three to allow the cut slabs to dry slightly.
STEP five
the Build
WHAT IS IT
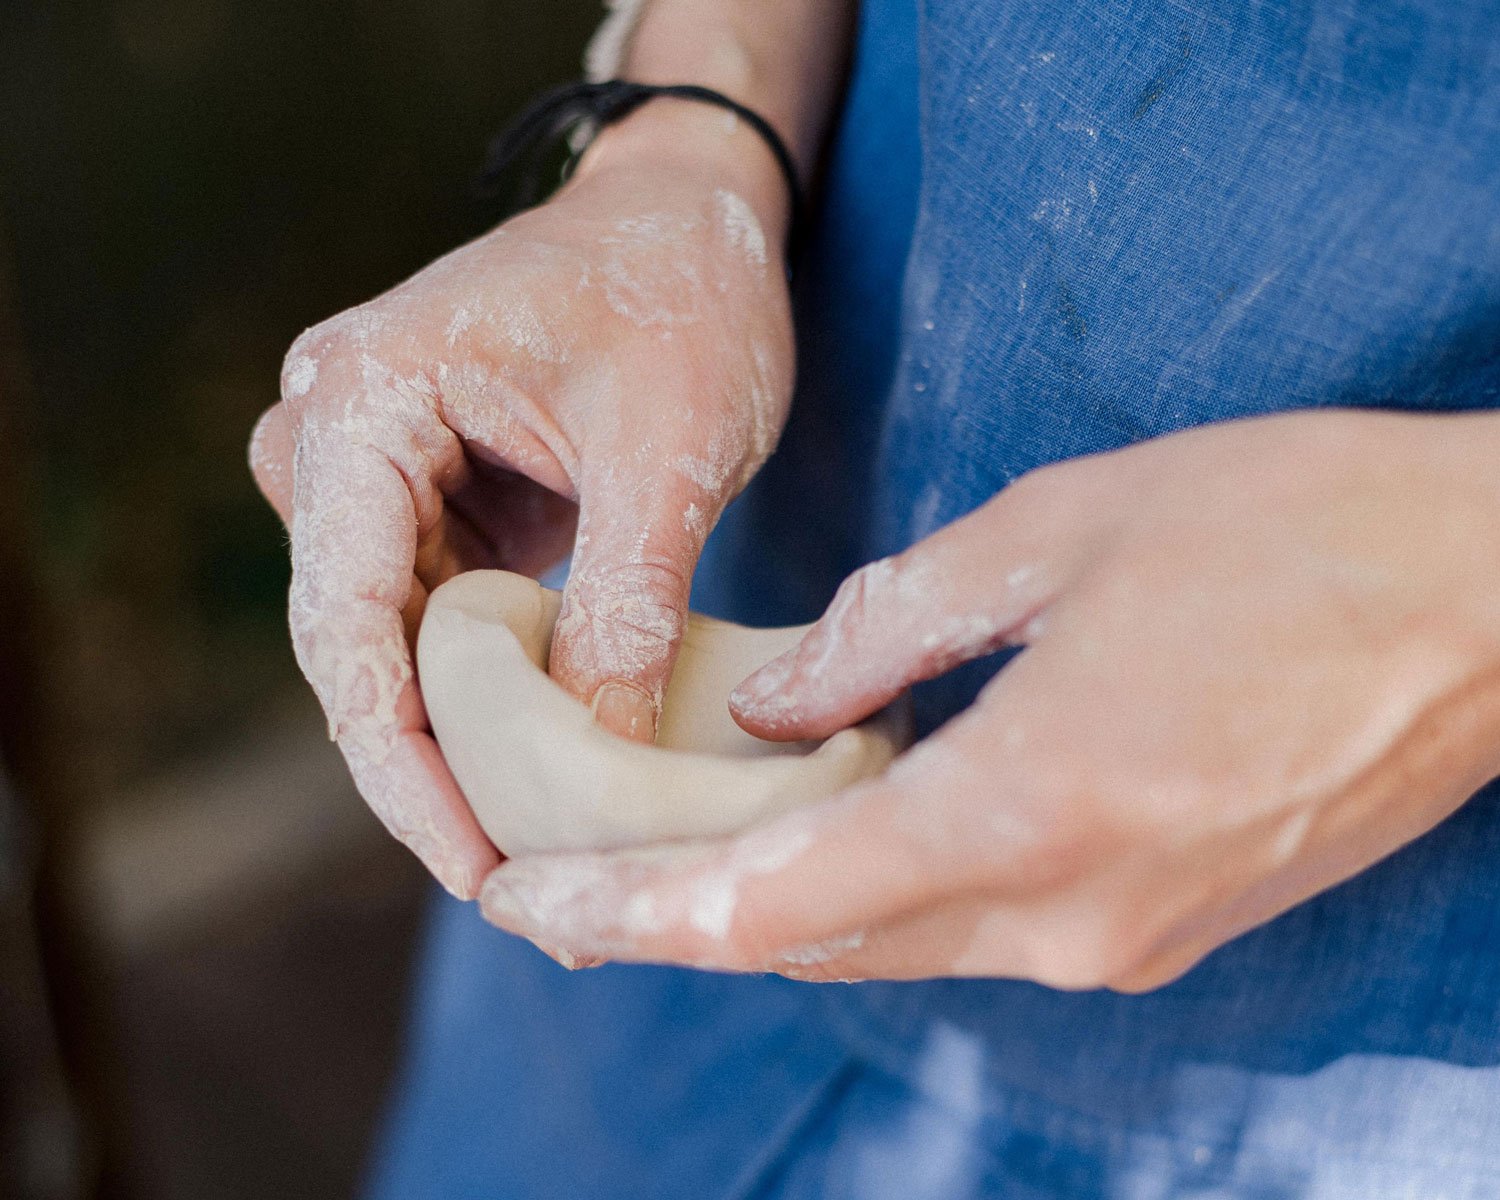
Starting with the first cut pieces, I begin building my designs. I reinforce the joins with small coils to ensure its structurally sound. This step may be broken up into multiple stages to allow for some air drying between bringing all the sides together successfully.
STEP six
the Trim
WHAT IS IT
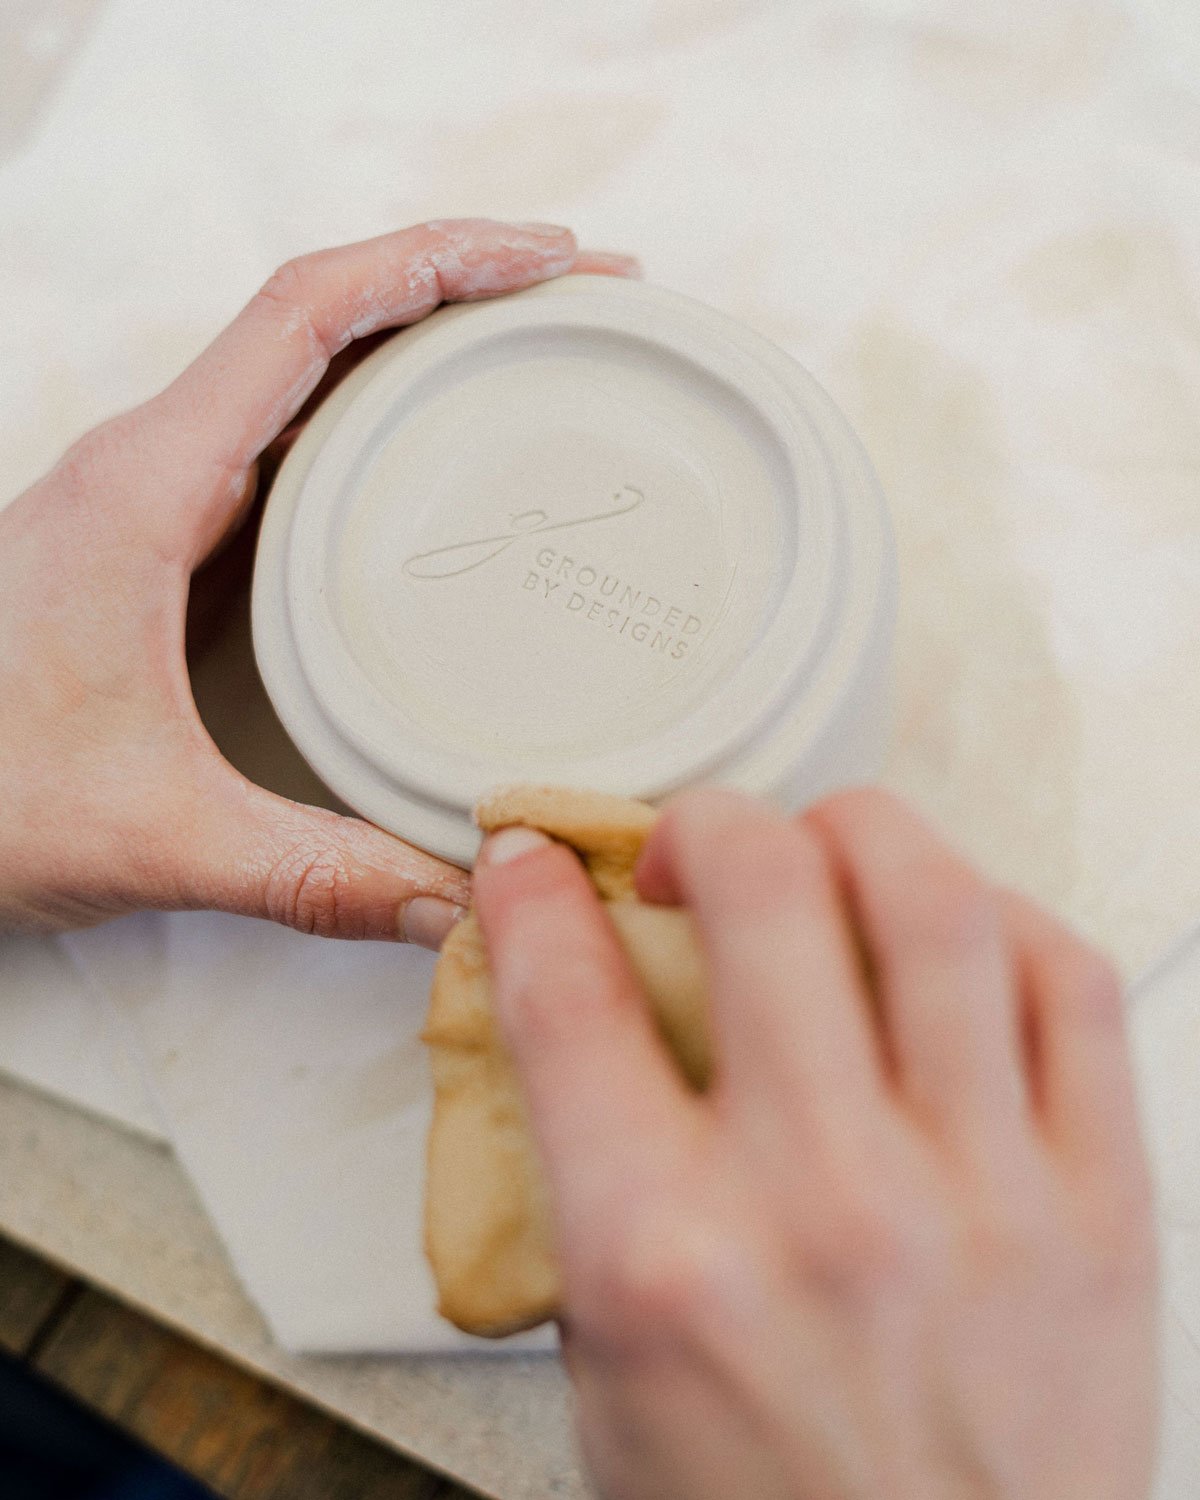
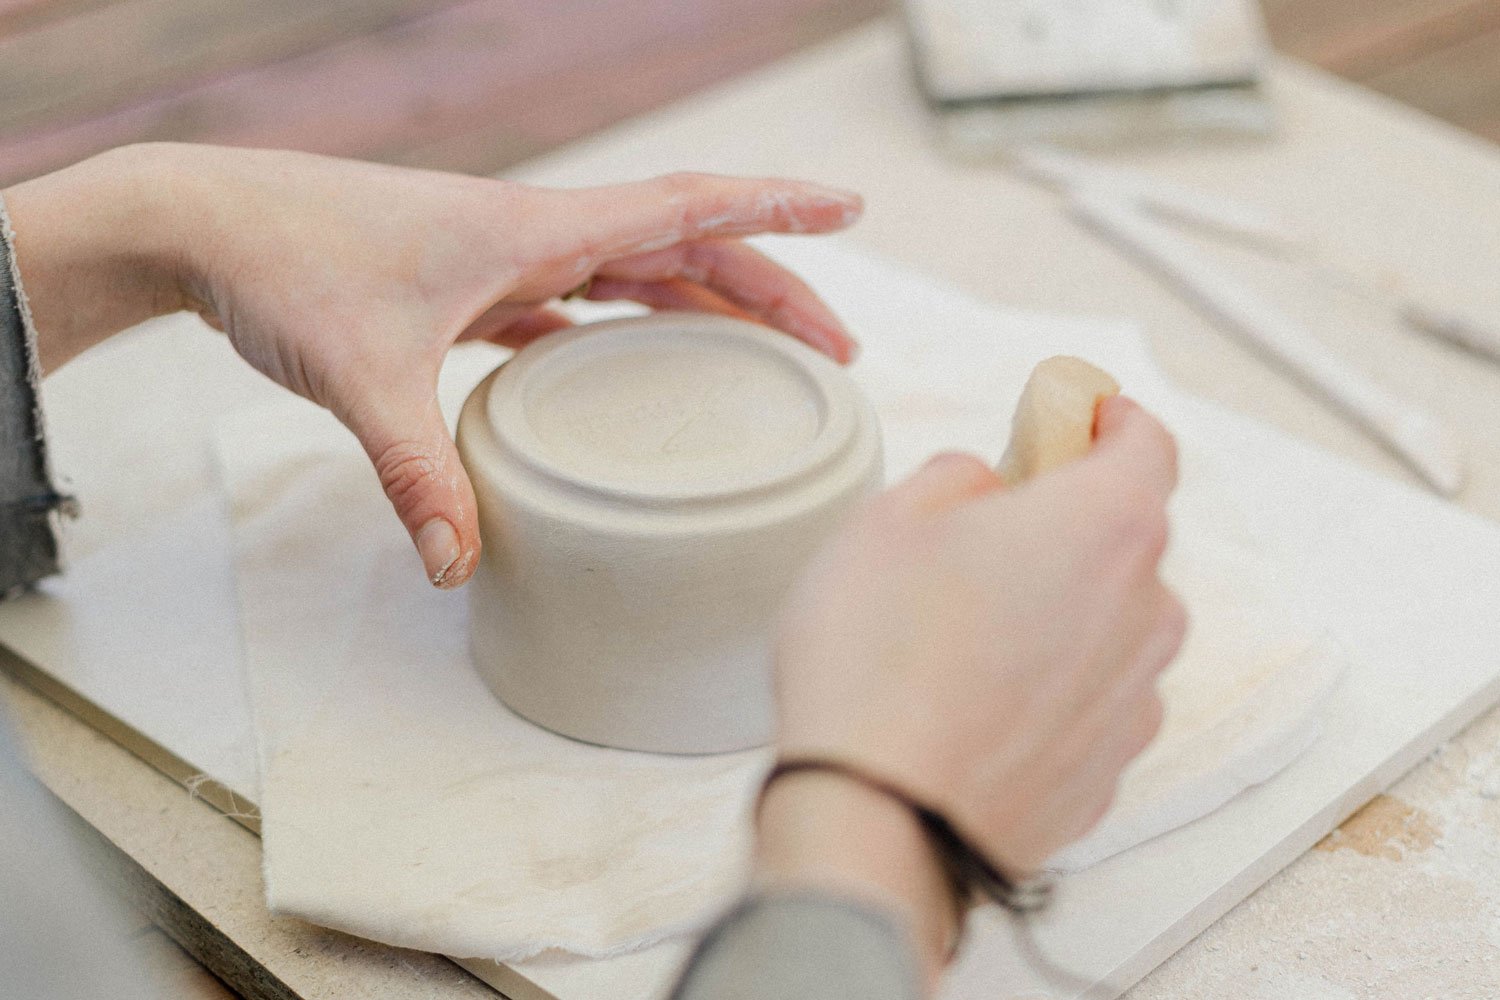
Whilst it’s slowly drying to leather hard I do a final tidy and trim with my carving tools and sponge.
STEP seven
the Dry
WHAT IS IT
There’s no quickening this step, trust me I’ve tried. The slower the better when it comes to hand built pieces.
STEP eight
the Bisque
WHAT IS IT
On a sunny day, I stack my 20amp kiln, close the door and watch the temperature rise to 998°.
STEP nine
the Sand
WHAT IS IT
After unpacking the kiln, I gently sand the whole piece with a smooth stone or fired, unglazed clay. I then quickly dip it in water and allow to dry completely. This ensure that the piece is smooth and clean from any debris.
STEP ten
the Glaze
WHAT IS IT
I like to dip glaze my pieces along with a little splatter of a different glaze to add some individuality to the finished result. I’ve also been getting into some painting with underglaze, then dipping them into clear glaze for a rather striking result.
STEP eleven
the Final Fire
WHAT IS IT
Once their bottoms have been cleaned (to ensure they don’t stick to my kiln shelves), I place them back into the kiln. Depending on the clay I’ve used will depend on how high the firing needs to get to. This could be between 1142° and 1260°.
STEP twelve
the Sealer
WHAT IS IT
After firing I do a final sand of the unglazed parts of the piece so it’s smooth to the touch. I then wash in warm, soapy water and leave to dry. After drying, I brush on Liquid Quartz, which is a food safe sealer of unglazed ceramic wares, rendering it waterproof and stain resistant.
my current Stockists
16 Gipps Street,
Carrington NSW 2294
- Studio offerings
- Workshops
- Homewares
267 King St,
Newcastle NSW 2300
- Homewares
Online Subscription Service
- Cups


